MetaMask — Setup & Configuration Guide

Step-by-step MetaMask setup and configuration: install the extension or mobile app, add EVM-compatible networks (BSC, Avalanche, Polygon, Arbitrum), connect Ledger/Trezor, handle token approvals, swaps, gas settings, and common connection errors.

MetaMask — Setup & Configuration Guide

Overview

MetaMask is a non-custodial software wallet (a hot wallet) primarily designed for EVM-compatible blockchains. It ships as a browser extension and as a mobile app. The extension injects an Ethereum-compatible provider into web pages, and the mobile app includes an in-app dApp browser for on-the-go DeFi and NFT activity.

MetaMask stores private keys locally and protects them behind a password; recovery is done with a seed phrase. It does not natively support non-EVM chains like Solana (see solana-limitations for more). What I've found is that the wallet hits the sweet spot between convenience and control — but that convenience comes with the usual hot-wallet trade-offs.

MetaMask UI screenshot placeholder

Get the Best Crypto Wallet — Start Now

Install & Onboarding (Extension vs Mobile)

Extension (desktop browsers)

  1. Follow the extension install guide: install-metamask-extension.
  2. Create a password and choose "Create a new wallet" (or restore an existing wallet with a seed phrase).
  3. Write down the seed phrase on paper and store it offline. (More on backups below.)

Mobile (iOS / Android)

  • Install from the official app store and follow the flow in install-metamask-mobile-app.
  • The mobile app adds a dApp browser so you can tap links from token lists and open dApps without WalletConnect.

Quick note: When I first set this up I treated the seed phrase like an advanced setting and nearly lost it. Don’t do that. And yes, write it down.

Quick Setup Checklist (Step by step)

A short checklist that I use when configuring a new device:

  1. Install extension or app (extension / mobile).
  2. Create wallet or restore via seed phrase (create-restore-wallet).
  3. Back up the seed phrase to paper; consider secure alternatives (backup-recovery-seed).
  4. Set a strong local password and enable device biometrics on mobile.
  5. Add networks you use often (connect-to-networks and add-custom-network).
  6. Fund a small amount for gas to test transactions.

Accounts, Networks, and Multi-chain Use

MetaMask supports multiple accounts under one seed phrase. You can create additional accounts or import a private key (import-private-key). Switching accounts is quick, and each account is a unique address tied to the same seed phrase.

Multi-chain support is handled by adding custom RPCs or choosing pre-configured Layer 2 networks. Switching networks feels like changing browser tabs — fast and immediate. If you need Polygon or Arbitrum, see add-polygon and add-arbitrum. For Optimism, check add-optimism. And remember: MetaMask is EVM-compatible, so any EVM chain with an RPC can be added.

Table: Form factor comparison

Feature Browser Extension Mobile App Hardware (via MetaMask)
Quick connect to web dApps Yes (injected provider) Yes (in-app browser) Yes (connect Ledger/Trezor)
Biometric lock No Yes Depends on device
Offline key storage Local Local Keys stored on device (recommended for large balances)

Daily Usage: dApps, Swaps, Staking, and NFTs

Connecting to dApps

  • On desktop the wallet injects window.ethereum; click "Connect" on a dApp and approve account access.
  • Mobile includes an in-app dApp browser and also supports WalletConnect (walletconnect-mobile-linking).

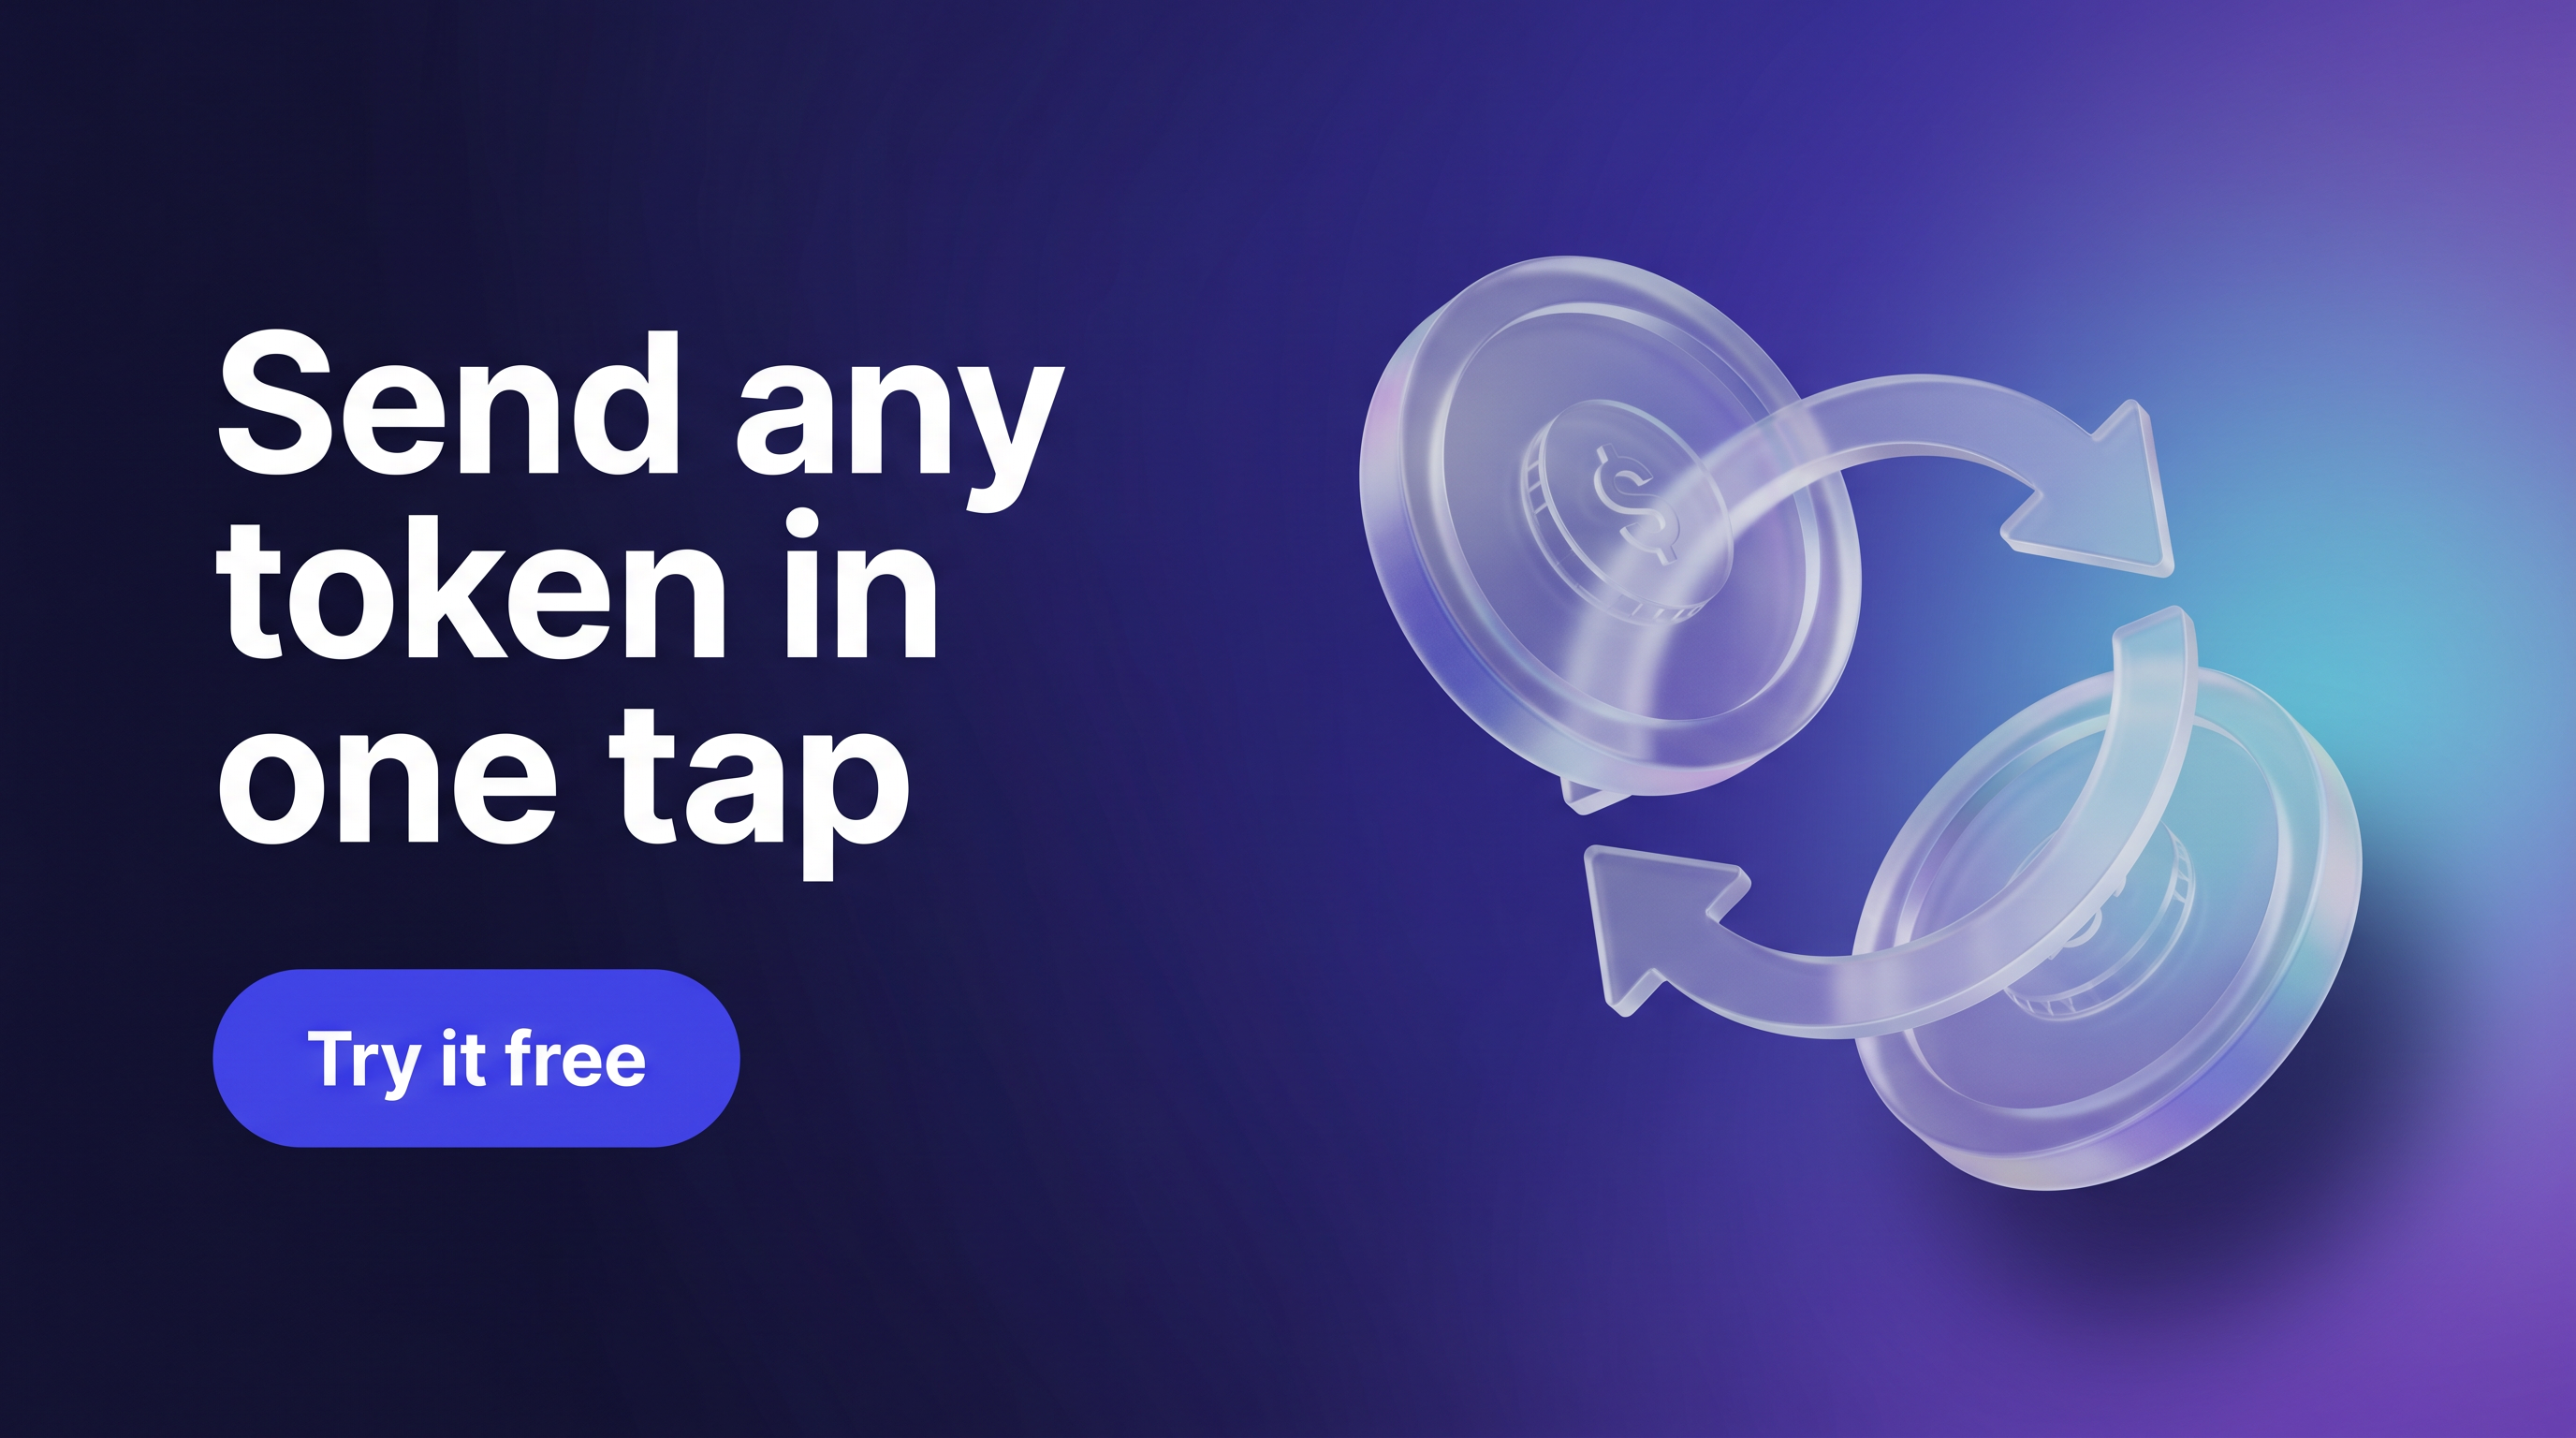
Swaps inside the wallet MetaMask includes a built-in swap feature that aggregates liquidity across DEXs. That saves a tab or two when you trade frequently. In my experience the quotes are convenient but I always cross-check prices on an external aggregator before big trades. See in-wallet-swap for step-by-step swapping tips.

Staking and liquid staking Some staking flows work directly via dApps when connected to MetaMask. Others require you to navigate to a staking provider and approve transactions. If you plan to stake regularly, check staking-via-metamask. Remember that liquid staking tokens are ERC-20 tokens with their own risk profiles.

Token and NFT management

  • Add custom tokens by contract address from the token page. See tokens-portfolio.
  • NFTs can be viewed and managed in the wallet, but consider a dedicated gallery for heavy collectors (nft-management).

Gas fees and Layer 2 MetaMask supports EIP-1559 gas mechanics: base fee + priority fee. You can edit advanced gas settings for priority fees, and using Layer 2 networks can cut gas fees dramatically — see gas-fees-eip1559 and gas-fees-l2.

Security, Backup, and Recovery

Security features

  • Password unlock on desktop; biometric lock on mobile.
  • There are built-in warnings for suspicious sites and transaction metadata in some versions, but browser hygiene (ad-blockers, not clicking unknown links) still matters.
  • Transaction previews show the contract you interact with. Read them.

Backup and recovery Seed phrase is the canonical backup method. Create a secure paper backup and consider redundancy (metal plate, safe). MetaMask does not offer built-in social recovery. For a detailed comparison of options, see backup-cloud-vs-paper and backup-recovery-seed.

If you lose your phone You can restore the wallet on a new device using the seed phrase. Follow lost-phone-recovery for steps. But what if someone else finds your device and your seed phrase is accessible? That’s why offline storage matters.

Revoke token approvals I once approved an unlimited token allowance by mistake. It happens. Revoke unnecessary token allowances and review active approvals regularly. See token-approvals-revoke for how-to steps.

Advanced: Hardware, Bridges, and Account Abstraction

Hardware wallet integration MetaMask supports connecting hardware wallets (Ledger, Trezor) so keys remain on the device while MetaMask acts as the interface (connect-ledger, connect-trezor). This is a practical middle ground if you want daily convenience without exposing private keys.

Bridges and cross-chain moves Cross-chain bridges let you move assets between blockchains but introduce complexity and smart-contract risk. Use audited bridges and keep amounts small when trying a new bridge. See cross-chain-bridges.

Account abstraction and smart contract wallets Account abstraction is emerging and lets wallets offer gasless transactions and session keys. If you want to experiment with smart-contract wallets, read account-abstraction. MetaMask can interact with these wallets as an external account, but the setup varies by provider.

Troubleshooting & FAQ

Q: Is it safe to keep crypto in a hot wallet? A: Hot wallets are convenient for daily DeFi activity and small balances. For large holdings, consider a hardware wallet. Think of hot wallets like your daily spending account and hardware wallets like a bank vault.

Q: How do I revoke token approvals? A: Use the token approvals tool in the wallet or a third-party revocation tool via a careful dApp connection. See token-approvals-revoke.

Q: What happens if I lose my phone? A: Restore from your seed phrase on a new device. If you didn’t back up your seed phrase, funds are likely unrecoverable. See lost-phone-recovery.

For more common issues see faq-page and the troubleshooting collection (troubleshooting-dapp-connections, troubleshooting-connect).

Who This Wallet Is For (and who should look elsewhere)

Who this suits

  • Active DeFi users who interact with multiple dApps and L2s.
  • Users who value self-custody and need an easy browser-to-dApp flow.

Who should look elsewhere

  • People who want built-in social recovery or fully custodial convenience.
  • Users who need native support for non-EVM chains like Solana (see solana-limitations).

Conclusion and next steps

MetaMask gives you quick access to DeFi, swaps, staking, and NFT interactions while keeping private keys under your control. But the convenience requires disciplined backup and cautious approvals. If you want a guided next step, start with the extension or mobile install guide and follow the quick setup checklist above: install-metamask-extension | install-metamask-mobile-app.

Want more focused how-tos? Try the step-by-step pages: create-restore-wallet, add-custom-network, and in-wallet-swap. Safe testing: use small amounts when you first connect to a new dApp.

Ready to start?

Get the Best Crypto Wallet — Start Now

FAQ

Is it safe to keep crypto in a hot wallet?

Short answer: yes — for day-to-day DeFi and dApp use — but treat hot wallets as convenience tools, not long-term cold storage.

Why: hot wallets (software wallets) hold private keys on devices that are connected to the internet. That makes them more convenient for swaps, staking, and connecting to dApps, but also more exposed to phishing, malware, and approval-based attacks.

What I do and recommend:

  • Keep only an operational amount in your hot wallet for daily DeFi activity. I usually keep a small working balance and move larger amounts to a hardware wallet or cold storage.
  • Separate accounts: create multiple MetaMask accounts (or separate wallets) so you can isolate funds used with risky dApps.
  • Use hardware wallets (Ledger/Trezor) for larger balances and interacting with high-value transactions where possible.
  • Practice safe habits: never paste your seed phrase into a website or store it in plain text; verify contract addresses before approving; keep the browser and OS updated.

Trade-offs: convenience vs security. If you swap tokens daily and need fast access, a hot wallet is the practical choice — but accept the higher operational risk and mitigate it with the steps above.

How do I revoke token approvals?

What a token approval is: when you interact with many DeFi dApps you grant a contract permission (a token allowance) to move tokens from your address. Some approvals are unlimited by default.

How I check and revoke approvals (safe workflow):

  1. Review approvals on-chain: use a reputable approvals checker or block explorer's token-allowance tools for the chain you're on (Ethereum, BSC, Avalanche, etc.). Always verify the site URL before connecting.
  2. Disconnect the site in MetaMask first: Settings → Connected Sites to remove active sessions.
  3. Revoke or reduce allowance: using the approvals tool, connect your MetaMask and revoke or set the allowance to zero. Note: revoking costs gas and is an on-chain transaction.
  4. Confirm on-chain: after revocation confirm the on-chain tx hash in the block explorer for the correct chain.

Security tips:

  • Revoke allowances for contracts you don’t use anymore or for high-risk dApps.
  • Beware of fake "revoke" tools — I always verify the open-source repo or known community recommendations before connecting.
  • If a revoke transaction fails or errors out, don't retry blindly—check gas settings and network health.

If you already approved a malicious contract: send a revoke transaction immediately (costly but often the only option), move remaining funds to a new address, and restore with a clean setup.

What happens if I lose my phone?

Losing a phone with a MetaMask mobile wallet is inconvenient but recoverable — if and only if you have your seed phrase.

Immediate steps I take:

  1. Assume the device could be accessed. If you used an exchange or custodial account, contact them immediately.
  2. Use another device and restore the wallet from your seed phrase: MetaMask → Import or Restore using the seed phrase.
  3. Once restored, move funds to a fresh address if you suspect the seed phrase was exposed.
  4. Revoke active approvals from the old address to reduce risk (see revoke guidance). You can do this from your new wallet.

Prevention & tips:

  • Never store your seed phrase electronically in plain text or in cloud storage without strong encryption.
  • Use a hardware wallet for larger balances — losing a phone won’t compromise a properly stored hardware wallet seed.
  • Consider remote device features (Find My iPhone / Android Find My Device) to lock or wipe the lost phone if you can.

If you don't have the seed phrase: you can't recover the wallet — that is the trade-off of self-custody. That’s why secure seed backups are critical.

Can I connect MetaMask to Coinbase, Binance or other exchanges?

Short answer: you can move funds between your exchange account and MetaMask, but you don't "link" an exchange account the same way you connect a wallet to a dApp.

What I mean:

  • Exchanges (custodial services) let you withdraw crypto to any address. To use those funds in MetaMask, create or copy your MetaMask address and withdraw from the exchange to that address.
  • "Coinbase Wallet" (a non-custodial mobile wallet) and MetaMask are separate apps. You can move funds between them by exporting/importing private keys or by standard on-chain transfers — exporting private keys is risky and should be avoided unless you understand the consequences.

Practical tips:

  • Always copy-paste addresses and double-check the chain (ETH mainnet vs BSC vs Avalanche). Sending tokens to the wrong chain can lead to loss.
  • Use the exchange's withdrawal network options carefully (select the correct network for the token standard) and verify gas/fee implications.
  • Don't share your MetaMask seed phrase with exchange support or anyone else.

If you need to integrate exchange balances into your workflow, prefer withdrawing to your MetaMask address and then connecting MetaMask to dApps from there.

How do I add Binance Smart Chain (BSC) / BNB to MetaMask?

Quick overview (conceptual): BSC/BNB smart chain is an EVM-compatible network. To use it in MetaMask you add it as a custom network.

Steps I follow (general, always verify official network details):

  1. Open MetaMask → Settings → Networks → Add Network.
  2. Enter network details: Network Name, RPC URL, Chain ID, Currency Symbol (BNB), Block Explorer URL.
  3. Save and switch to the new network. You should now see BSC balances for BEP-20 tokens.

Safety notes:

  • Always obtain RPC and Chain ID values from the official network docs or a trusted block explorer for that chain.
  • When sending tokens from an exchange, choose the correct withdrawal network (BEP-20/BSC) or you may lose funds.
  • If a dApp on BSC asks you to switch networks, confirm you want to switch and that you're interacting with the legitimate site.

How do I connect a Ledger hardware wallet to MetaMask?

Desktop (USB) brief workflow:

  1. Connect your Ledger via USB and unlock the device.
  2. Open the appropriate app on the Ledger (for Ethereum and EVM chains it's typically the Ethereum app or 'Contract Data' enabled).
  3. In MetaMask, choose 'Connect Hardware Wallet' and follow the prompts to pick the Ledger account.
  4. Transactions are signed on the Ledger device; MetaMask acts as the interface.

Mobile (Bluetooth) notes:

  • With compatible models you can pair via the MetaMask mobile app. Bluetooth pairing can be flaky — patience and the latest firmware help.

Common issues I've seen and fixes:

  • 'Cannot connect' or 'unknown error': ensure Ledger firmware and apps are up to date, the browser extension (if using Ledger Live) isn't interfering, and browser permissions for USB/HID are allowed.
  • If you see an 'internal json-rpc error', try a different browser (Chrome/Brave/Edge) or update the browser.

Security reminders:

  • Never export your Ledger seed phrase. If MetaMask suggests importing a seed phrase to access Ledger funds, stop — instead use the hardware connection flow.

Why won't MetaMask connect to a dApp?

Common causes and quick fixes I've used:

  1. MetaMask is locked — unlock it before connecting.
  2. Wrong network — the dApp expects a different EVM chain (e.g., BSC, Polygon, Arbitrum). Switch networks or add the required custom RPC.
  3. Browser interference — other wallet extensions (or Brave's built-in wallet) can conflict. Disable other wallet extensions and reload.
  4. Provider injection timing — the dApp's connect button runs before window.ethereum is available. Refresh the page or use the dApp's mobile flow.
  5. Permission prompt blocked — check the browser for a pop-up or MetaMask’s permission dialog.
  6. Mobile pairing problems — use WalletConnect or the in-app browser if the desktop flow fails.

Developer-facing causes:

  • The site isn't calling ethereum.request({ method: 'eth_requestAccounts' }) correctly or uses an older web3 injection pattern. See developer guide pages for fixes.

If none of the above works, try a different browser/device and check the dApp's status (announced maintenance or network issues).

How do I add Avalanche (AVAX C-Chain) to MetaMask?

Conceptually the Avalanche C-Chain is EVM-compatible and you add it the same way as other custom networks.

Generic steps I follow:

  1. MetaMask → Settings → Networks → Add Network.
  2. Fill in Network Name, RPC URL, Chain ID, and Currency Symbol (AVAX). Use official docs for exact RPC/Chain ID.
  3. Add and switch to the network. You can now view and transact with C-Chain assets in MetaMask.

Important reminders:

  • Use official RPC endpoints or reputable public RPC providers. Avoid unknown RPC URLs offered in random chat rooms.
  • When withdrawing AVAX from an exchange, confirm you're choosing the C-Chain if you plan to use MetaMask and EVM dApps.

How can I lower gas fees when swapping tokens?

Gas minimization strategies I use:

  • Use Layer 2s: swap on L2 networks (Arbitrum, Optimism, Polygon) whenever the token and dApp support them — gas is usually much lower than mainnet.
  • Time trades: gas varies with network load. Avoid peak times for big swaps.
  • Use aggregators: a swap aggregator often finds cheaper routes or more gas-efficient paths than a single DEX route.
  • Adjust priority (max) fee and tip carefully: for non-urgent swaps, lower the priority fee to save costs (but expect slower confirmations).
  • Batch or combine operations: if you can, minimize the number of on-chain approvals or combine actions into a single transaction through contract batching or gas-saving dApps.

Remember: lower gas fee can increase the chance of transaction delays or failed execution due to slippage — set sensible slippage tolerance and test with small amounts.

Does MetaMask support Solana?

No. MetaMask is designed for EVM-compatible blockchains (Ethereum and similar chains). Solana uses a different architecture and wallet model.

What to do for Solana:

  • Use a Solana-native wallet (wallet apps designed for Solana). You can still move funds between Solana wallets and EVM wallets using a bridge, but that involves additional risk and steps.

Why this matters:

  • Trying to add Solana as a custom RPC in MetaMask isn't possible — you'll see mismatched behavior because the wallets and token standards differ (SPL vs ERC-20).

Can I create multiple MetaMask wallets or accounts?

Yes, and it's important to understand the difference:

  • Multiple accounts under one seed phrase: MetaMask lets you create multiple accounts derived from the same seed phrase. They are convenient for separating balances and identities but share the same seed phrase.
  • Multiple wallets (different seed phrases): if you want true separation (so a compromised seed only affects one wallet), create a new wallet with a new seed phrase.

My rule of thumb:

  • Use multiple accounts (same seed) for convenience and small operational segregation (e.g., one for NFTs, one for DeFi).
  • Use separate seed phrases for larger separation of risk (e.g., a hot wallet seed for daily use and a hardware wallet seed for savings).

How do MetaMask's built-in swaps work and what do they cost?

How it works (high level): MetaMask's swap feature aggregates liquidity from multiple sources to find a route and quote for the token pair you want to swap. The service presents a single transaction you sign in MetaMask.

Costs involved:

  • Network gas fees: the on-chain cost to execute the swap. This varies by chain and network congestion.
  • Routing/service fee: aggregators or the wallet UI may include a small service fee or spread. Always review the quote before approving.

Practical tips I use:

  • Compare the in-wallet swap quote with a dedicated aggregator or DEX when swapping large amounts.
  • Inspect slippage tolerance and confirm the route. For small swaps the convenience is worth it; for large or complex trades I compare multiple sources.

What does the 'No provider was found' or 'Connect' button error mean?

That message usually means the site couldn't detect an injected Ethereum provider (window.ethereum) — MetaMask is not available to the page.

Common fixes I apply:

  1. Make sure MetaMask is installed and unlocked.
  2. Refresh the page after unlocking the wallet.
  3. Disable conflicting wallet extensions (Brave has a built-in wallet that sometimes interferes). Restart the browser.
  4. Try the site's mobile flow (WalletConnect or MetaMask in-app browser) if desktop still fails.
  5. Developers: ensure the site calls ethereum.request({ method: 'eth_requestAccounts' }) and waits for the provider to be injected.

If the problem persists, test with a different browser or device to isolate whether it's the extension, the site, or the network.

How do I safely use cross-chain bridges with MetaMask?

Bridges carry unique risks: smart contract bugs, liquidity provider issues, and cross-chain finality differences.

A safe bridge workflow I follow:

  • Use a reputable, well-audited bridge. Check for audits and community reports.
  • Start with a small test transfer to confirm the entire flow (deposit → bridge → claim on destination chain).
  • Understand the fee structure: you typically pay gas on source chain and possibly fees on destination chain.
  • Review approval steps: many bridges require you to approve token allowances — follow revoke guidance afterwards if you won't reuse the bridge.
  • Monitor transaction progress on both source and destination block explorers.

If anything looks suspicious (unexpected contract addresses, unusually high fees, or long unexplained delays), contact the bridge provider's official channels and avoid repeating the transfer until resolved.

How can I verify a transaction before I sign it (transaction simulation and phishing protection)?

Tools & habits I rely on:

  • Transaction preview: read the exact method being called and the amounts. MetaMask shows some details, but advanced dApps may bundle calls — use simulation tools if available.
  • Use simulation services or block explorer tools that let you preview contract calls and expected token movements.
  • Check the destination contract address: verify it on the dApp's official docs or a trusted explorer.
  • Be cautious with approvals: if the UI requests an unlimited allowance, consider setting a smaller allowance or revoking after use.
  • If a site asks you to sign an arbitrary message (not a transaction), be skeptical — signing messages can authorize actions in some systems.

When in doubt, stop. I once refused a suspicious signature request and saved myself from an approval-based drain.

Ready to start?

Get the Best Crypto Wallet — Start Now